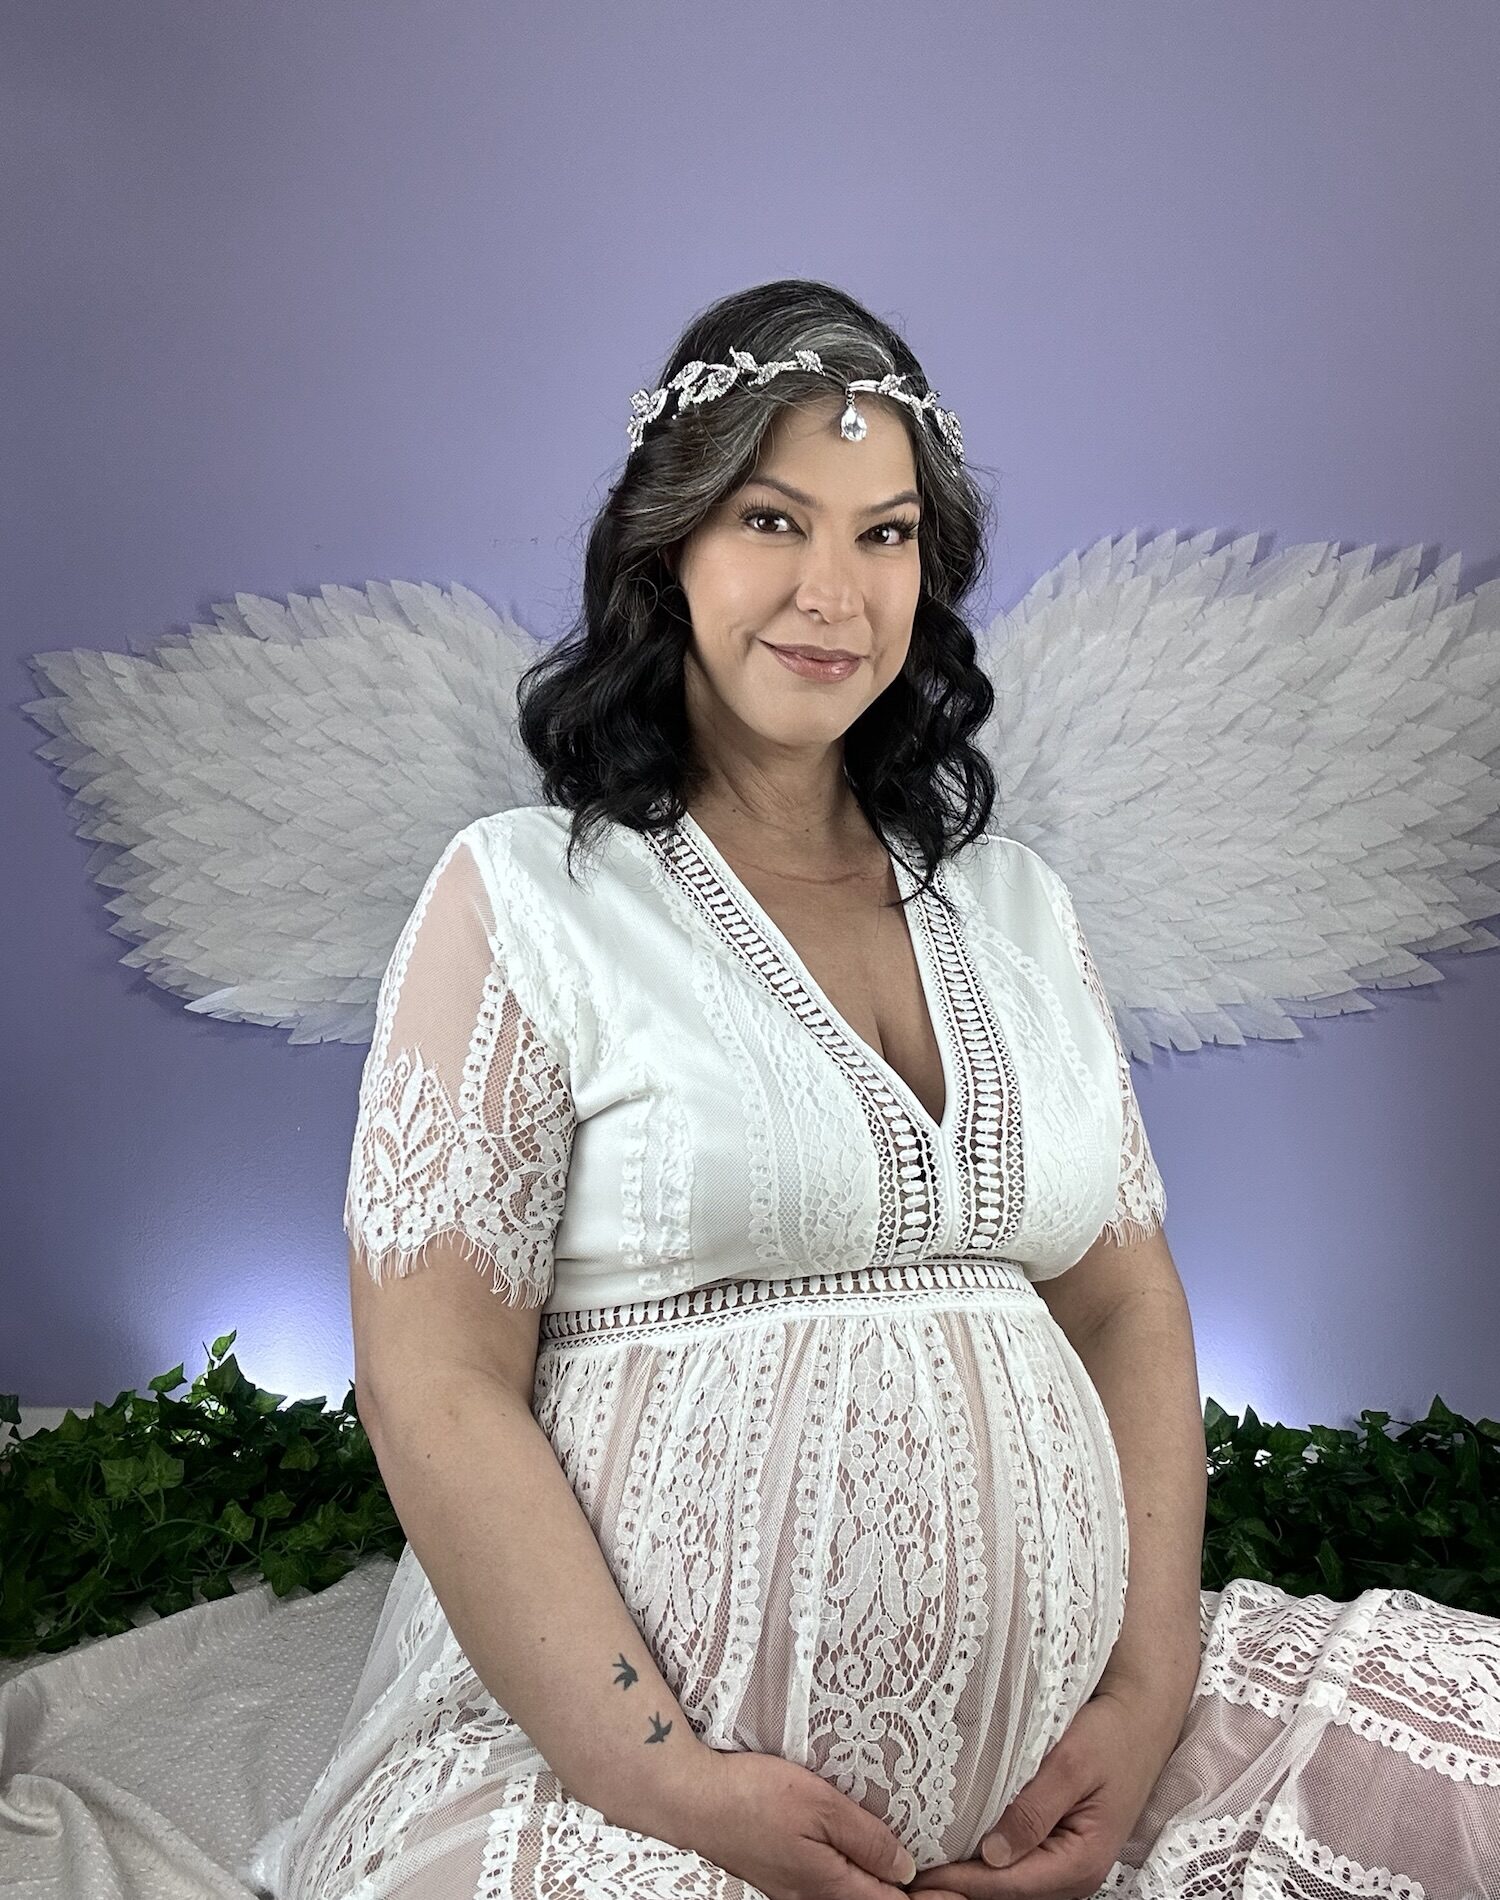
If you are crafty like me, this super simple foam angel wings is the perfect backdrop for your next photoshoot. I chose it as the theme for my maternity photos at home.
If you seen these wings all over social media, instead of instead of wearable wings mine hang as a backdrop. Which in my case adds to the beauty of pregnancy, making this special moment even more dreamy.
They are pretty easy to do. It took me about ten days. I worked on them for about an hour each day. Cutting and shaping the feathers at night while watching TV, then gluing them in the morning to see how everything was coming together.
If you’re looking for a simple but stunning DIY backdrop for a maternity shoot, milestone photos, or even just a creative piece for your space, these angel wings are the perfect touch.

Materials Needed for DIY Angel Wings Backdrop
Base Structure
- Poster board – for drafting the wing body
- Packing foam – for creating the wing frame
- Wing body template (download here) – to guide the shape
Feathers & Layering
- Feather templates (download here) – five different sizes
- Packing foam – for cutting out the feathers
- Cutting mat & craft knife – for precise feather cutting
Assembly & Finishing
- Low-heat glue gun & glue sticks – for attaching feathers
- Marker or pencil – for tracing templates
- Ruler – for measuring feather placement
- Optional: Spray paint or glitter – for added texture and shine
Step-by-Step Guide
1. Drafting the Wing Shape
Using the wing body template, trace the shape onto a poster board. This will serve as the base structure. Note: Halfway through this project, I refined the shape by rounding the inner edges (marked in pink on the template) for a smoother finish and fewer feathers.
2. Creating the Wing Frame
Cut the wing body from the packing foam to create a sturdy frame. Flip the template to ensure symmetry between both wings.
3. Preparing the Feathers
Cut five different feather sizes using the provided templates. These variations help determine layering and coverage.
4. Cutting & Shaping the Feathers
Using packing foam, cut out the feathers. Instead of counting each feather, cut them in batches, shape them, and glue them as you go. Start with the largest feathers first, gradually working toward the smaller ones.
5. Attaching the Feathers
Using a low-heat glue gun, begin attaching the feathers layer by layer. Continue until the wings have a full, natural look.
6. Adding Hanging Support
Attach a lightweight wire to the back of the wings for easy hanging. You can cover it with packing foam strips.
7. Setting Up for Photoshoots
For temporary placement, use 3M hooks and tape to adjust the wings as needed.
Final Thoughts & Creative Uses
I was very pleased with the final result! These angel wings became the perfect backdrop for my maternity photoshoot, and I can’t wait to use them again when my baby arrives. They’ll also be a fun addition for future photoshoots—especially when my teenage niece visits, as I know she’ll love posing with them.
If you’re looking for a budget-friendly, customizable way to enhance your photography setup, this DIY angel wings backdrop is a fantastic project to try. Let me know if you create your own—I’d love to see how you bring them to life!
For these photos I wore this lace dress in white. Since I have wore it before and wanted just the lace over my bump, I cut the lining waist down. Below are some budget friendly options for photoshoot maternity lace gowns for a similar effect.
Maternity Sheer Lace Photoshoot Gown
Open belly maternity photoshoot gown
I hope you enjoyed this post and gets you inspired for your next photos.