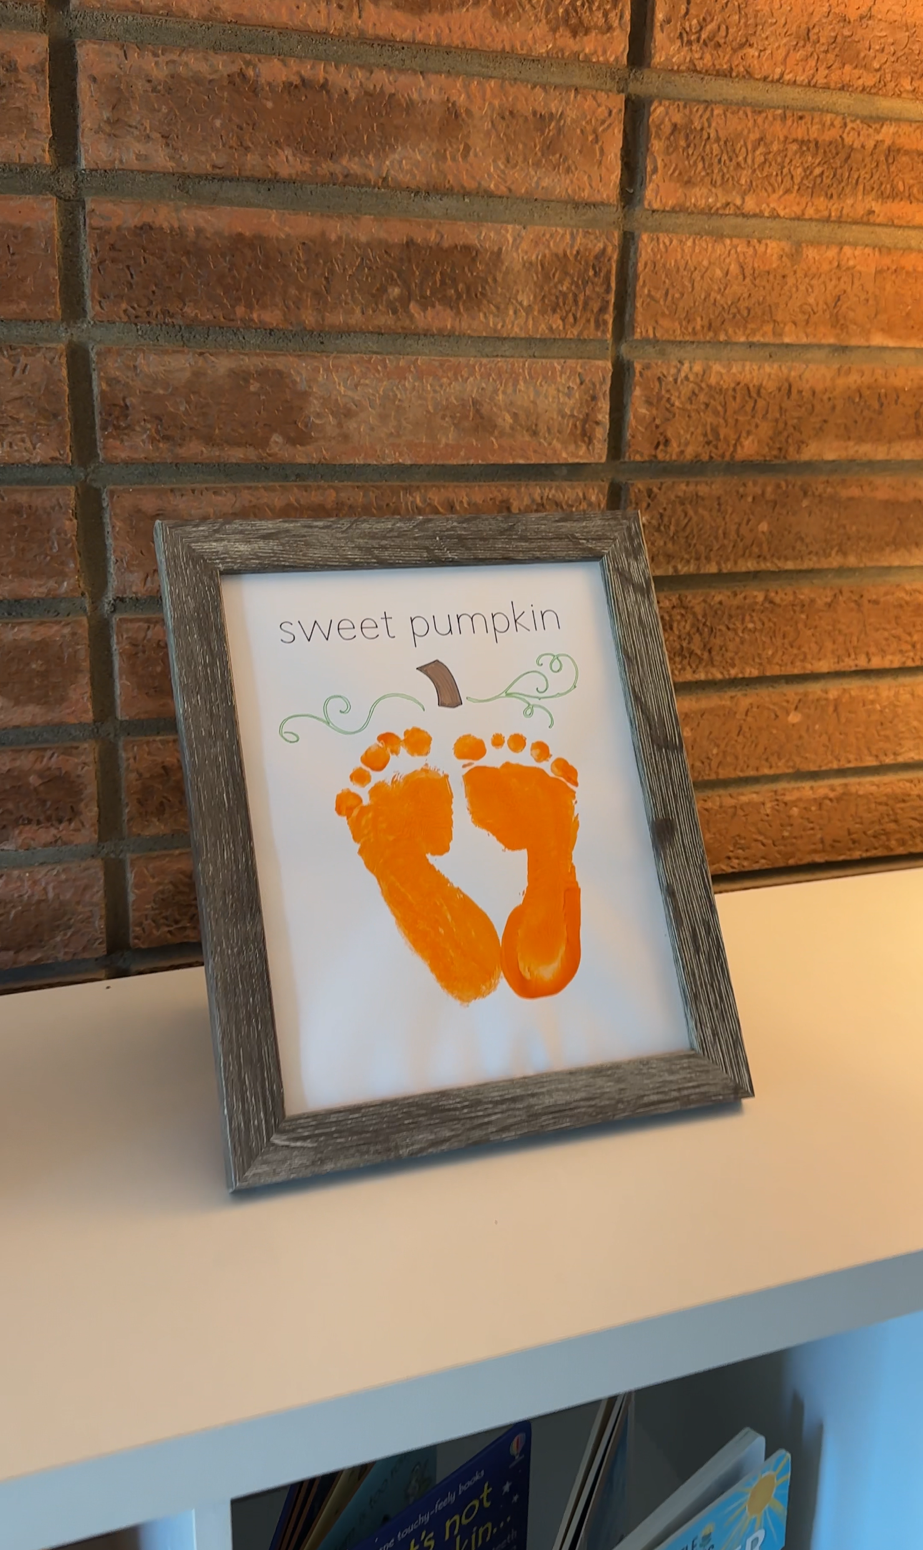
A simple fall keepsake that turns out cute, even if your handwriting doesn’t.
This post may contain affiliate links. I may earn a commission at no extra cost to you.
I love cute seasonal projects, but I’m not the person who can freehand beautiful lettering or even draw a straight line. That’s exactly why I lean on my Cricut. It makes my projects look polished even when my actual crafting skills… aren’t.
This pumpkin footprint craft is one of those beginner‑friendly projects that turned out way cuter than I expected. And because I know how overwhelming Cricut can feel when you’re just starting out, I wanted to share the exact steps I used. If you’re a Cricut beginner (or someone who just wants a fall craft that works), you’re in the right place.
📌 Content Overview
🍁 Supplies
Everything I used for this project:
- Mix media paper
- Vine & stem image (download here)
- Orange finger paint
- Clipboard
- Cricut + Design Space
- LightGrip mat (blue)
- Pen tool

🍂 Step 1: Upload the Vine & Stem
I started by uploading the vine & stem image into Design Space. Here’s exactly what I did:
- Upload the image
- The background should already be transparent, so you can click continue and select single layer
- Resize and place it above where the footprints will go
For different color for the vines and the stem,
- duplicate the image
- go to contour and turn of the stem in the first image and the vines in the second image
- This is your chance to flip the stem if you want
- Set the color to the vines to green and the stem to black
✏️ Step 2: Add the Text
I used the font BIZ UDGothic for “sweet pumpkin” because it writes super clean.
Be sure to change the settings to:
- Tool: Pen
- Operation: Writing
- Color: Black
- I used the size: 54.1
📎 Step 3: Attach Everything
Once your vine, stem, and text are placed exactly where you want them:
Select all → Attach
This tells Cricut to write everything in the correct spot. If you forget this step, Cricut will scatter the design.
📄 Step 4: Prep Your Paper
I used mix media paper on the LightGrip (blue) mat.
Why the blue mat matters:
- The green mat is too sticky
- It ripped my paper when peeling it off 😭
Remember to change pens when design space tells you too, do not remove the paper in between changing pens.
Optional: color the stem yourself with a marker
🎨 Step 5: Make the Footprint
This is the messy, memory‑making part , also my favorite.
Putting my baby in the high chair helped me keep everything steady and gave me way more control.
Here’s what worked best for me:
- Clip your paper to a clipboard
- Paint baby’s foot with orange finger paint
- Press the foot onto the paper
- Keep the heels close together — this makes the footprint look rounder, like a pumpkin
🍊 No‑Cricut Version
If you don’t own a Cricut, here’s the most realistic workaround — and I’m being totally honest here. The Cricut normally draws the vine + stem for you, so without it, the best option is to use the printed image as a guide and draw it yourself.
Here’s what you can do:
Add the footprint the same way Orange finger paint, heels close together, high‑chair trick — all the same steps.
Print the vine/stem image on regular printer paper (Mix media paper is too thick and could jam your printer.)
Use the printed image as a reference Lightly sketch the vine + stem onto your mix media paper, then trace it with a marker. It doesn’t need to be perfect… the footprint is the star.
Optional: If you really don’t want to draw, you can cut the printed vine/stem and glue it onto the mix media paper. It works — but it won’t look as clean or polished as the Cricut version.
Write “sweet pumpkin” with a marker Slow + simple handwriting always looks better than rushed handwriting.
🧡 Final Thoughts
This craft is beginner‑friendly and honestly one of my favorite fall keepsakes. You don’t need to be crafty, artistic, or experienced. It’s the sweetest way to turn their tiny footprints into a fall memory you’ll keep forever.